This post is sponsored by Gallery Direct.
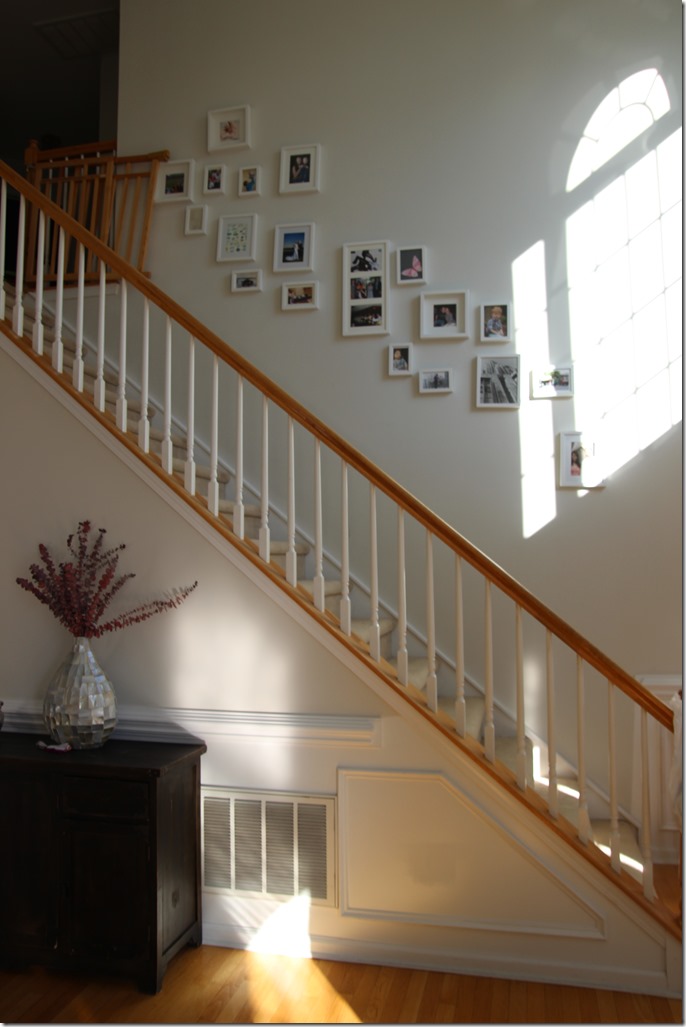
So a few months ago, I saw a post on Kath Eats about Gallery Direct, which makes beautiful canvas prints right from your photos. I immediately hopped on over to the site to order a ‘test’ print of Claire. You see, I had been desperately wanting to transform my staircase photo. After we moved in, I attempted a cute collage wall with lots of little pictures. But I was never satisfied with the layout, didn’t like the small size of the images, and kept knocking pictures off the wall. After two years, this is what I was left with.
Meh.
Anyway, I ordered a test print from Gallery Direct because we have a canvas print that I got from another website, and I was never satisfied with it. It cost a decent amount of money, but the canvas was flimsy and thin. So I wanted to wait to pull the trigger on a large order until I got one canvas back from Gallery Direct.
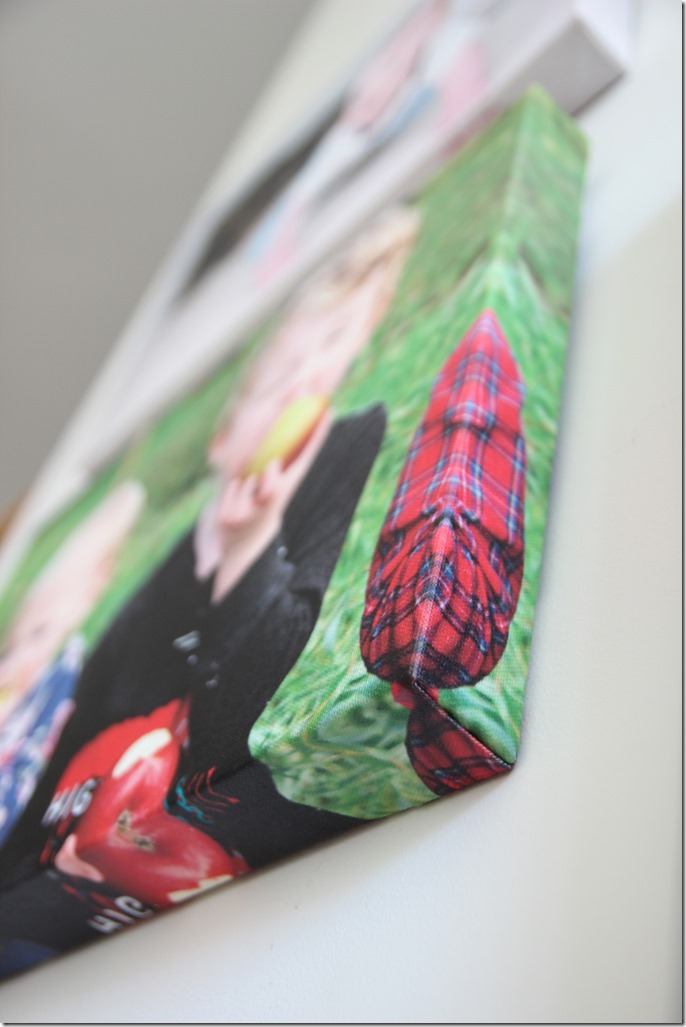
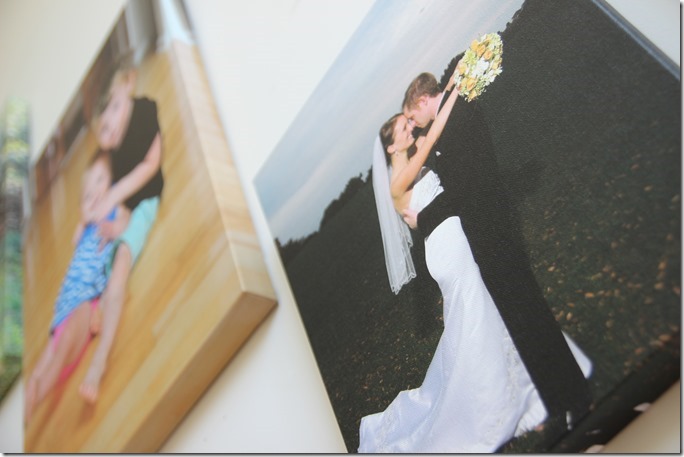
I loved my first Gallery Direct canvas SO MUCH that I promptly ordered 7 more and e-mailed the company to see if they would be interested in doing a giveaway! Seriously, these canvases are that nice. The frames are sturdy and thick, and the canvas has such a nice texture to it.
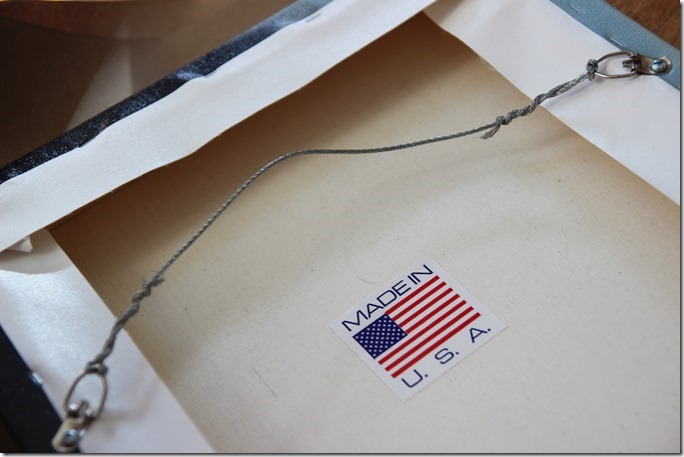
It comes with a wonderful hire hanger on the back! My other canvas frame didn’t and was such a headache to hang. Also – LOVE the Made in the USA sticker on the back of each picture.
Before I hung everything up on the wall, I sent a “HELP ME!†e-mail to Gallery Direct for some advice. I feel like collage walls are hard enough as it is – but stairway collages are even harder. Here’s what the experts said:
In reality, the more varied the art is that you’re hanging up, the more visually interesting it will be. Multiple sizes and orientations give a gallery wall a dynamic flow to it versus the more traditional symmetry of a size balanced wall. In terms of capturing the best flow that you can my advice would be to definitely use the paper layout as described in our first tutorial, found here. In addition we’ve seen a lot of success with using paper cut outs as well. The basic method would be as follows:
1. Gather all the pieces that you’re interested in including in the gallery wall
2. Lay them out on a piece of butcher paper and cut out the outlines of each piece so that you have a piece of paper in the exact size/shape of each piece
3. Arrange these visually on a wall – this allows you to arrange and rearrange as you see fit without having to put a bunch of holes in your wall
Best practices of where to start when arranging a variety of sizes/pieces is to stick the bigger pieces in the middle and then let the smaller ones fill in the gaps on the outside of the arrangement. Likely the larger pieces will be your visual focal point anyway, so keeping them in the center makes the most sense to the eye, while including the smaller ones towards the outside lets the viewer really appreciate the details they otherwise might have missed.
Since hanging my first wall was such a disaster (so many holes!), I took their advice and tried the butcher block paper method.
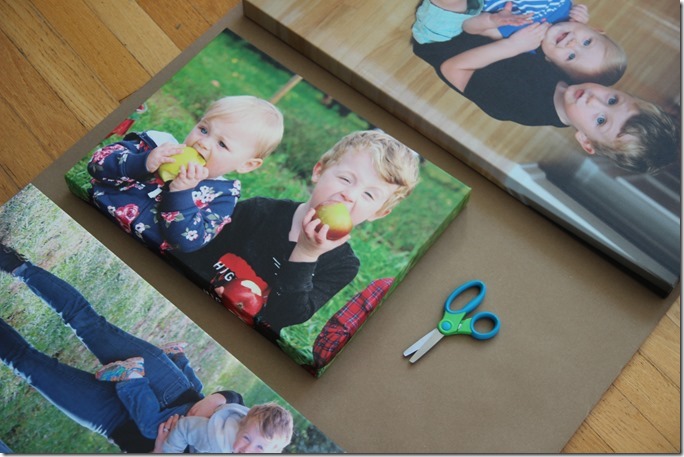
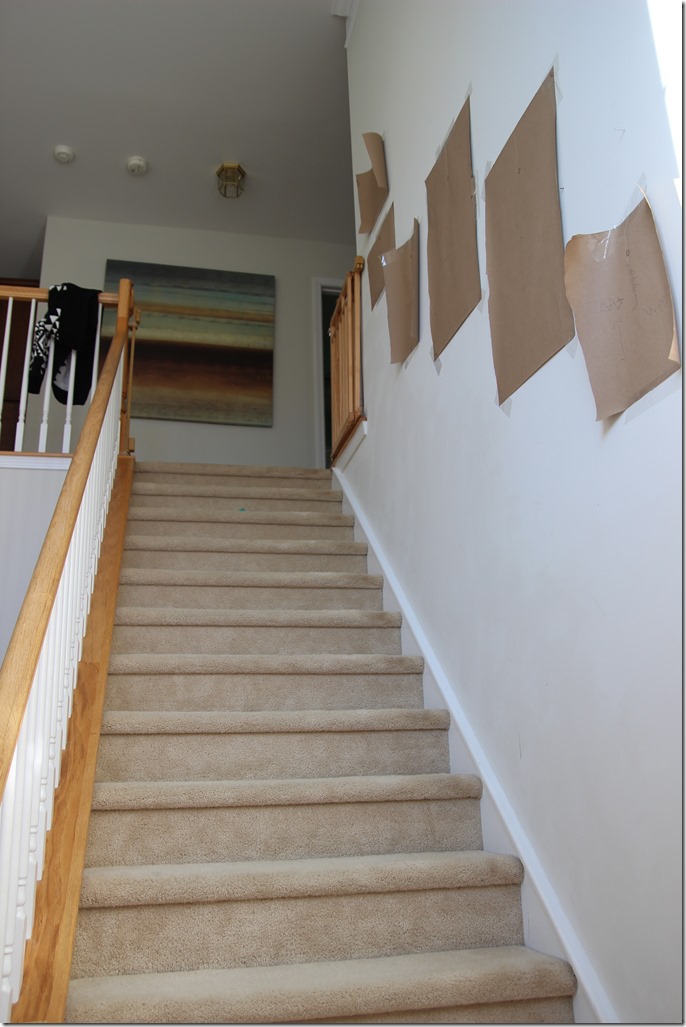
I cut out outlines of each picture and also made a mark on the paper indicating where the nail should go when I accounted for the wire hanger’s give. I also wrote on each paper which picture it belonged to and the picture’s orientation so I didn’t get too confused.
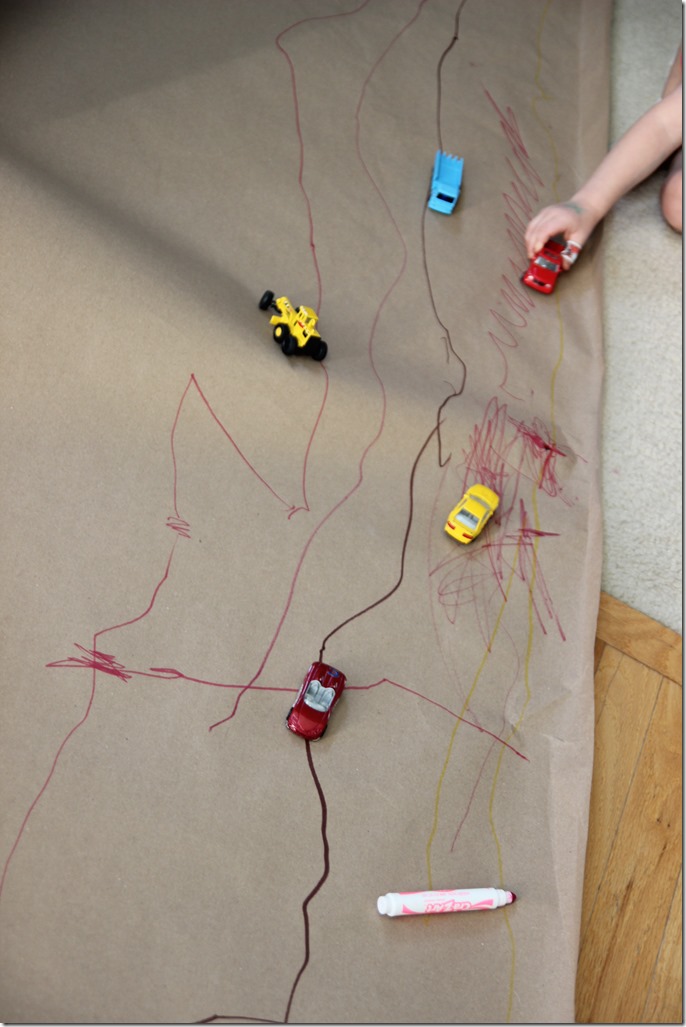
FYI butcher block paper is also an excellent race track.
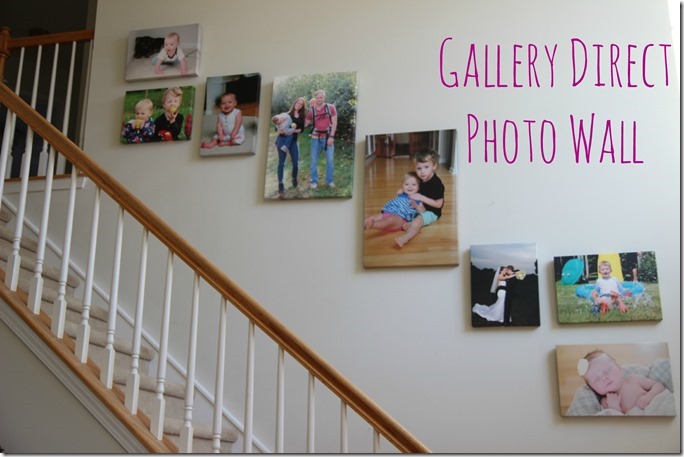
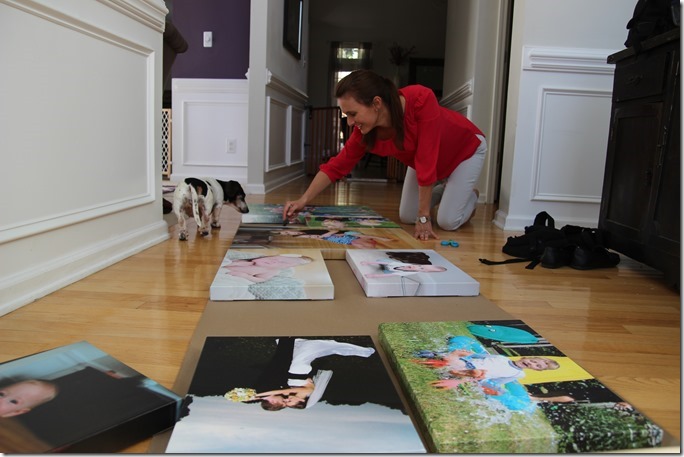
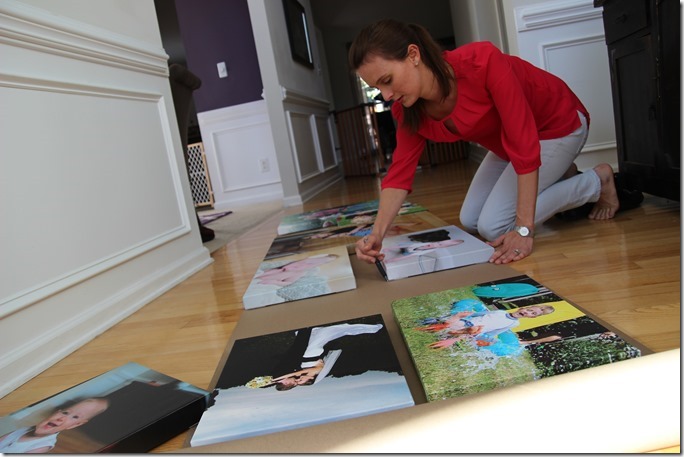
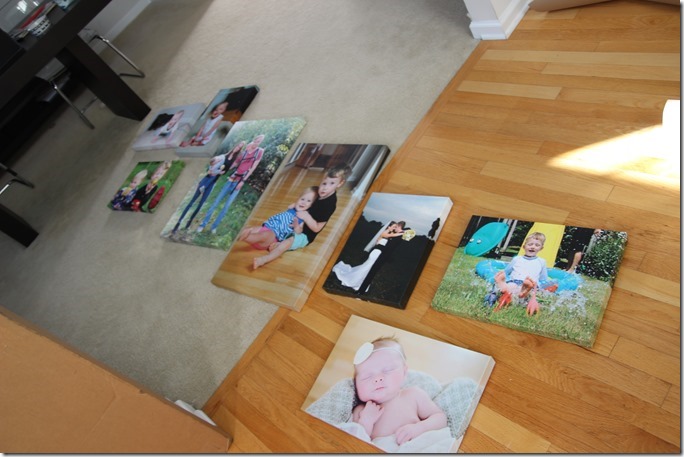
I laid out the pictures on the floor first, and then I taped the paper up on the wall. I moved things around a few times because some of my prints weren’t the exact same size so I couldn’t be perfectly symmetrical (which definitely threw me off). I decided to just do what Gallery Direct advises and go with what looked visually pleasing instead of perfectly aligned.
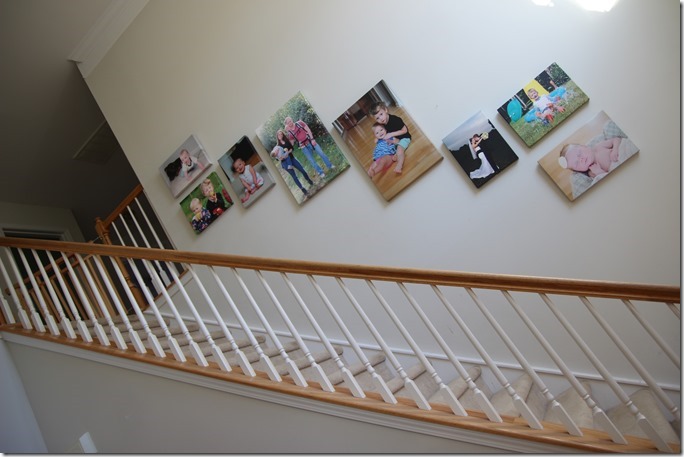
Final product:
I am so pleased with how it came out! And I LOVE the larger prints because it’s so much easier to actually SEE them – before you had to get super close to appreciate the pictures. I left some room to grow on the bottom landing of the staircase. I can’t wait to add a few more pictures in (I know we need a tailgating picture in there somewhere!).
If you want to just go ahead and purchase some Gallery Direct prints (they would be an awesome holiday present), Gallery Direct is running a promotion through mid-November for 40% off sitewide and 65% off on canvas gallery wrap photo uploads! You don’t need a coupon or anything, just head on over to the site.
Want to win $200 to Gallery Direct to create your own wall? Simply leave a comment on this post telling me about your all-time favorite picture. My all-time fav is the picture of the Husband and me looking at Henry the moment he was born (you can see it here). I’ll pick a winner on Monday.

Your gallery wall on the staircase looks awesome! I also ordered a Gallery Direct after the Katheats.com post and I love it- great quality. Would love some more! My all time favorite picture is a candid one of my husband and I and our friends on my husband and my first “date night”- way back in 2005! Some one snapped the picture of a group of us dressed in 70s gear at a bowling alley and right at that moment I was giving my husband a big kiss on the check and he is beaming. Love that photo and all that it signifies in it’s candid glory 🙂